How to shoot flowers on a white background
Guest post, Emma Davies
The British Flowers Book is part textbook, part inspiration, and Claire wanted the photographs to reflect both these aims. For the inspiration parts, we aim to show the variety of British flowers available throughout the year, in different settings.
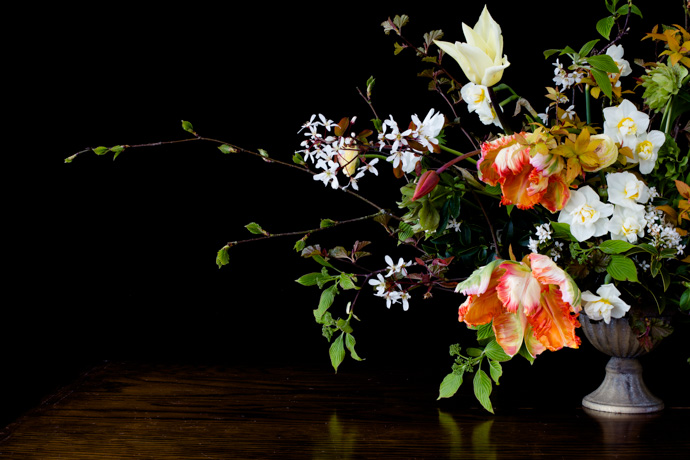
A look forward to Caroline Davy's shoot in April
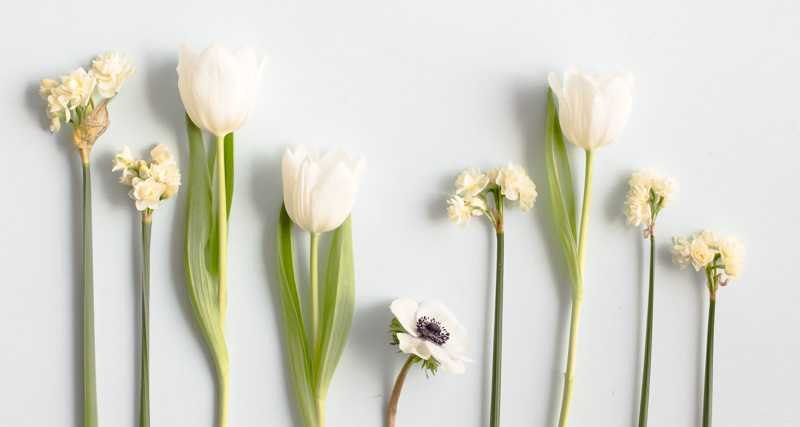
For the information sections of the book the flowers are set against a white background for easy identification. Shooting flowers, or anything, against a clean white background is straightforward once you realise the camera is fooled by the white background.
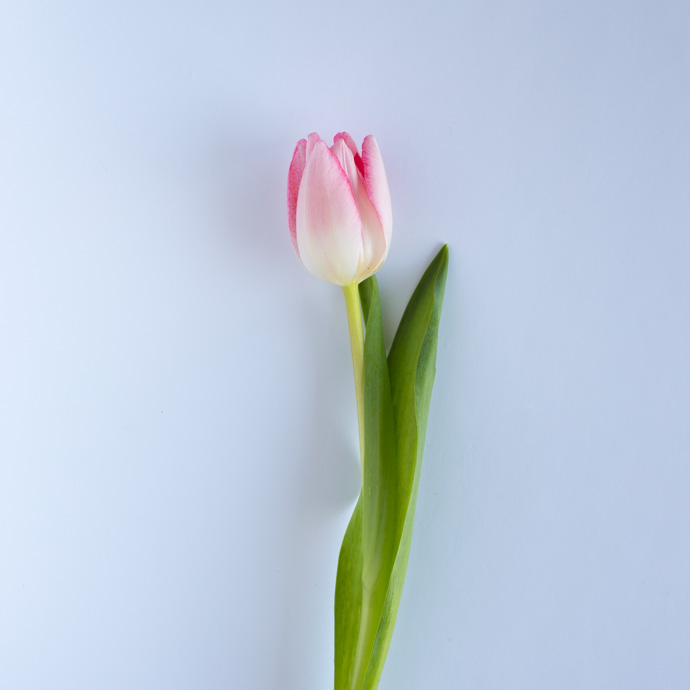
When you shoot against a white background, does it come out like the first photo, not the second?
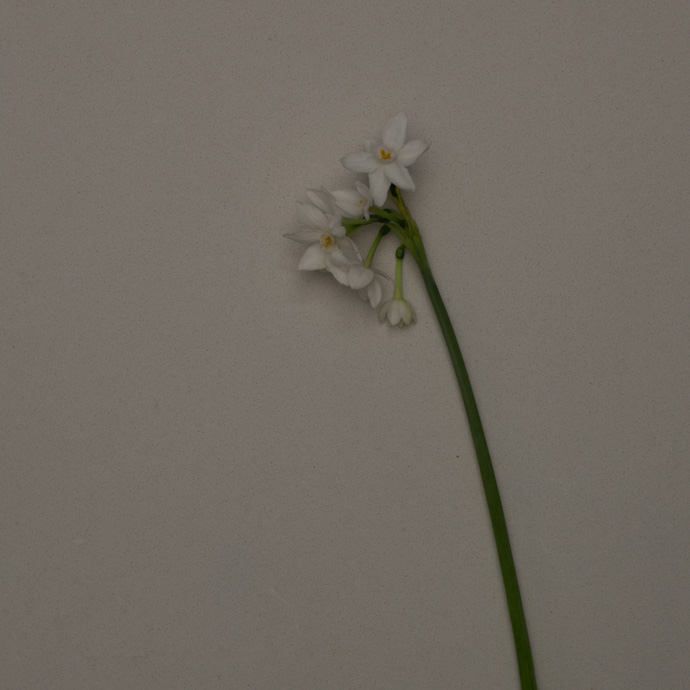

If you are using a phone, or shooting on auto modes, this happens because the camera is programmed to see the entire world as a mid-grey tone, and it turns everything it sees to that same mid-grey tone.
If what you are shooting is actually very light (or very dark), the camera will under (or over) expose in its attempt to achieve the mid-grey tone.
In this post I'll show you how to get the clean white background first time round in camera (2 ways, one with a tripod and one without), and in my next post, later this month, I'll show you how to fix the problem afterwards in editing.
How to get a white background
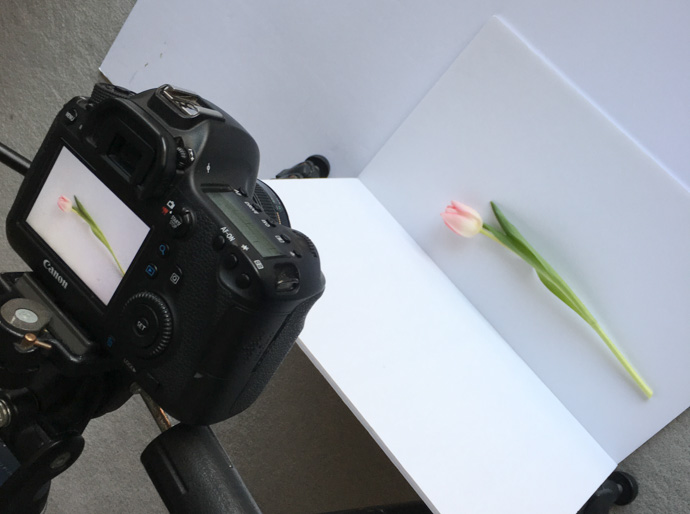
1. Set yourself up close to a window
Unless you have studio lights, I'm assuming you'll be working during the day using natural daylight. Get as close as you can to a window that is not in direct sunlight (direct sunlight gives you very harsh shadows - not what you want for this style of shot).

Use as clean and uncreased a white background as you can find, to minimise editing. Here I'm using a piece of white foamcore (available from art and craft shops).
2. Turn on aperture priority mode
The most important thing for this shot is that the tulip is sharply in focus from front to back. I need to make sure the aperture is at least f8, and I don't trust the camera on auto to choose that.
On aperture priority mode I choose the aperture, and the camera picks the other settings (shutter speed and ISO). This is still an auto mode, so we will still get the grey background problem.
If you don't know how to switch over to aperture priority, have a look in your manual.
3. Fix the under exposure problem
Because there is so much white in the image, the camera's auto exposure is fooled. It thinks the world is grey, so it will turn the white to grey (under expose it) unless you override the auto exposure.
You can either do this by shooting fully manual, or just by using the exposure compensation dial. Look up exposure compensation in the manual you just downloaded, and work out how to dial in about +1.5 or +2 stops of compensation. This is simply telling the camera, "What you're looking at is about 1.5 or 2 shades brighter than mid grey."
If you have Live View, turn it on, and you will be able to see what effect your compensation is having on the image. Otherwise, you can see what's happening by finding the exposure compensation scale, that looks a bit like this, in the viewfinder:

*** Don't forget to put the dial back to zero once you've finished. ***
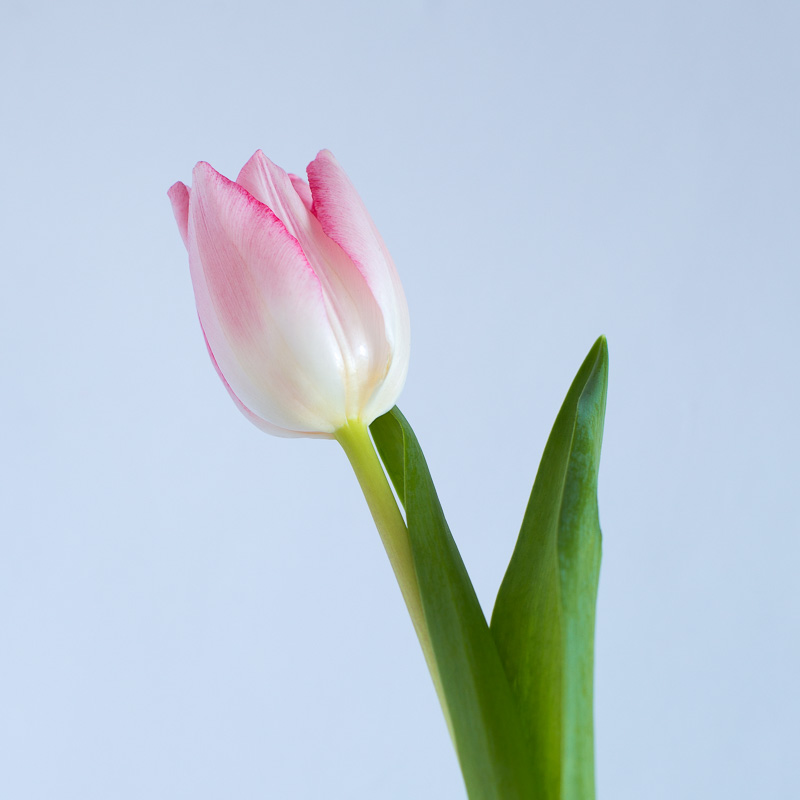
4. Tone down the massive shadow on the side of the flower opposite the window
The second image is the one we're aiming for, not the first:
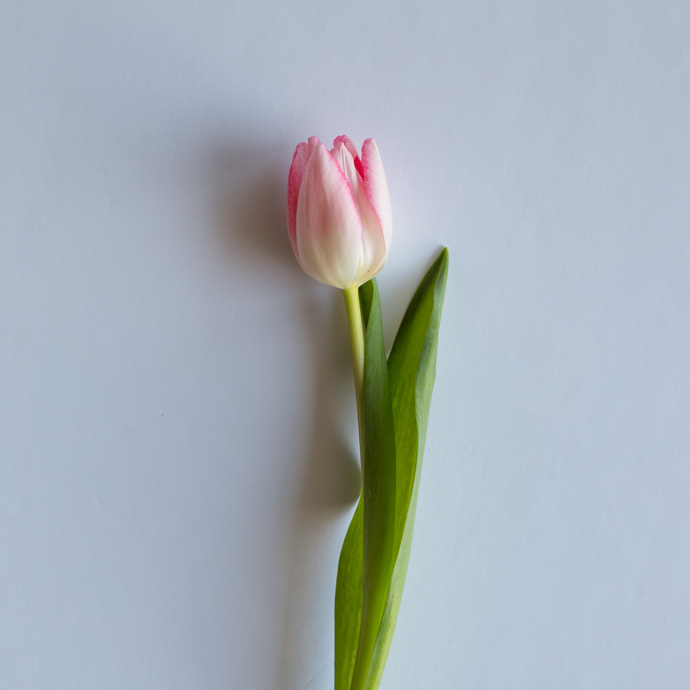
You deal with the shadow by using another piece of white foamcore, or anything else white, to reflect light back into the shadow and reduce it:
The reflector needs to be closer than you think to the flower to soften the shadows
5. Don't have a tripod?
No tripod, no problem.
You won't be able to shoot straight down, but you can use the tried and tested 'pile of books' method to stabilise the camera.
(You need to stabilise the camera because the image will need a long shutter speed, and you won't be able to hand hold the camera and still keep a sharp image.)
Set your flower up next to the window just the same, and with the same white background; you'll just be working straight on:

It's just a little harder to get your flowers in the right place working this way, but the benefit is you get less of a shadow against the background
For extra-sharp images, use the self timer.
Notice how you get no shadow at all on the background using this method. You still need to use a reflector to brighten the shadows on the actual flower.
Do you need basic photography advice?
I run a free, online photography workshop for beginner photographers wanting to learn how to use their big cameras. Join here:

In my next post I'll be showing you how to edit images like these to make sure the white background is as white and bright as it can be, and to get rid of any marks you might have missed on the background.